 If you are interested in learning how to take control of databot™, update its software, change the native software configuration from Phyphox or Google Science Journal, or any other number of hacks you have in mind, here’s how you get started!
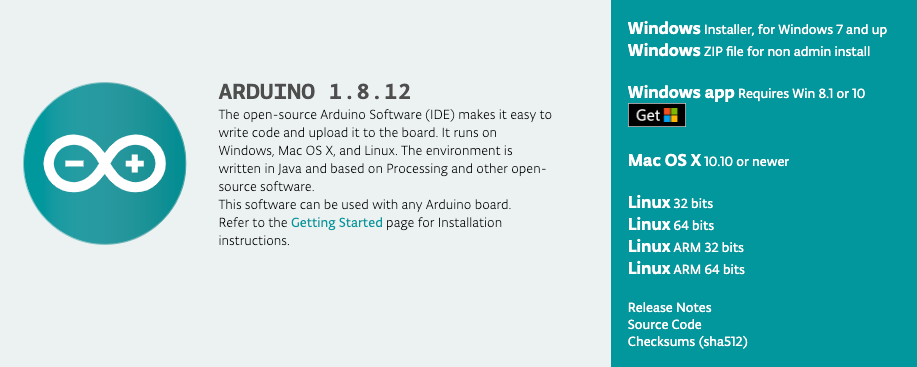 databot™ is based on Arduino. The Arduino story is an exciting one, if you’re not familiar with it, you can get a quick run down by going through our online learning module
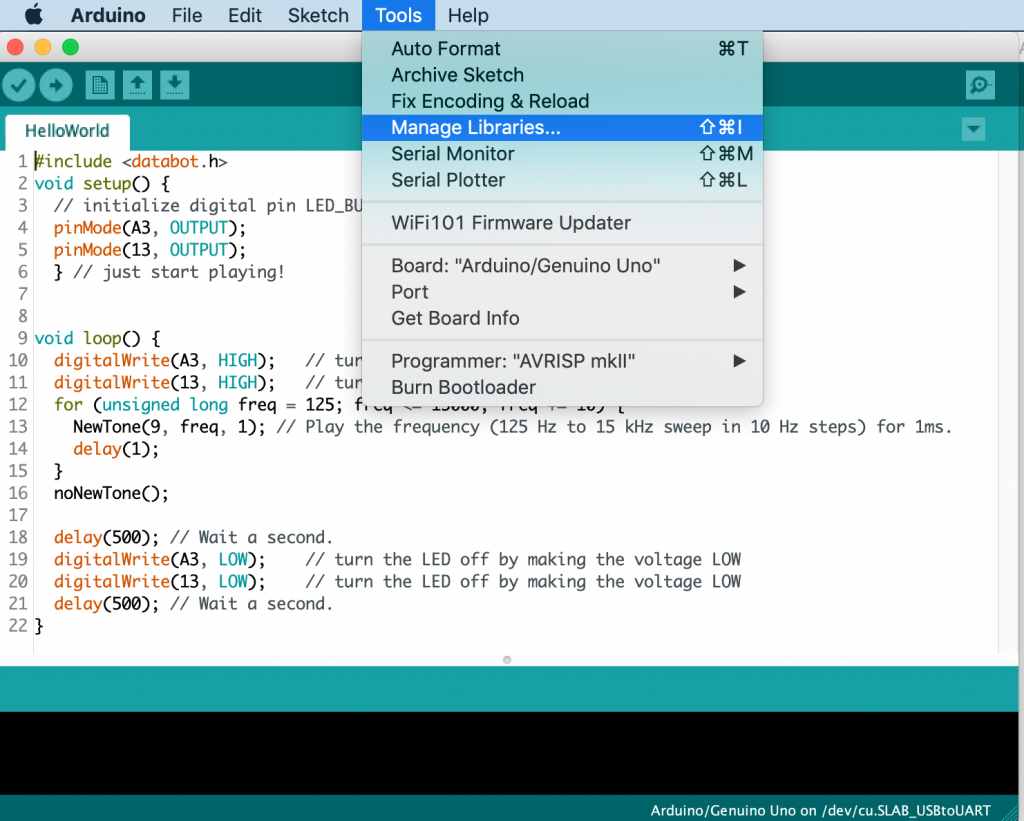
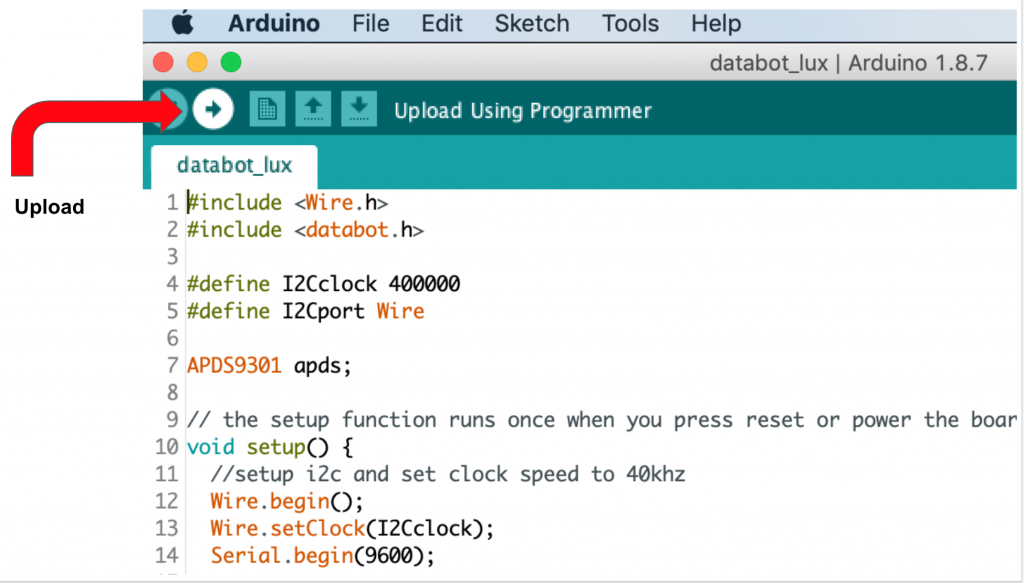
Congratulations!
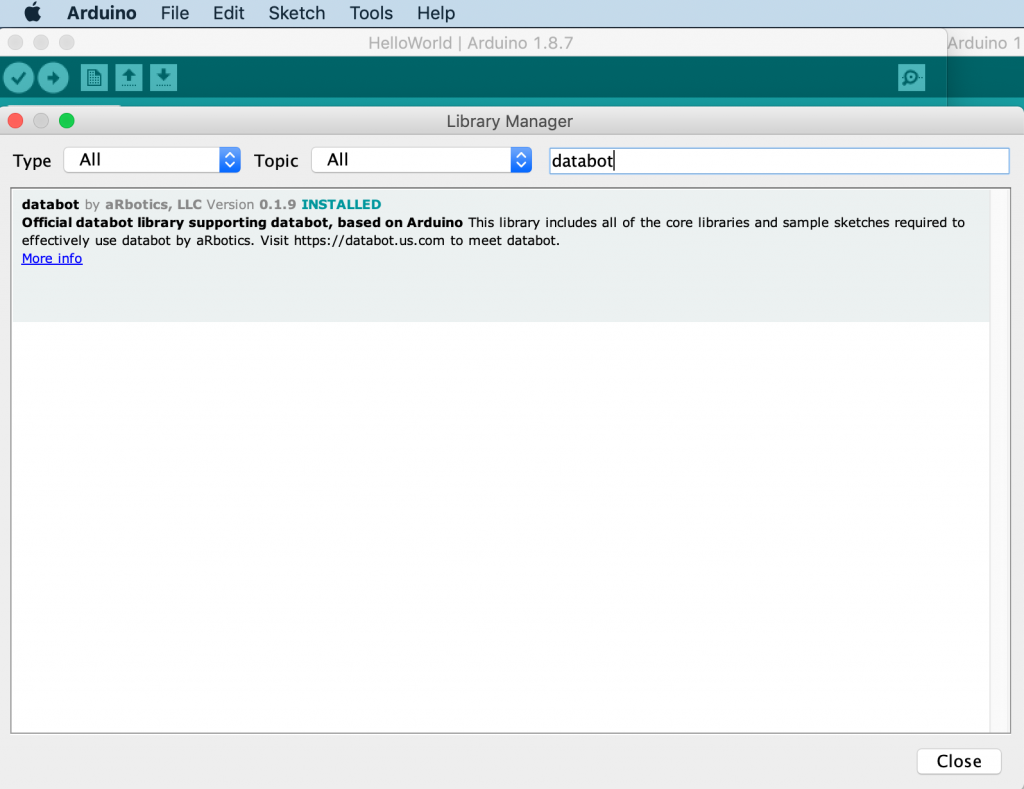
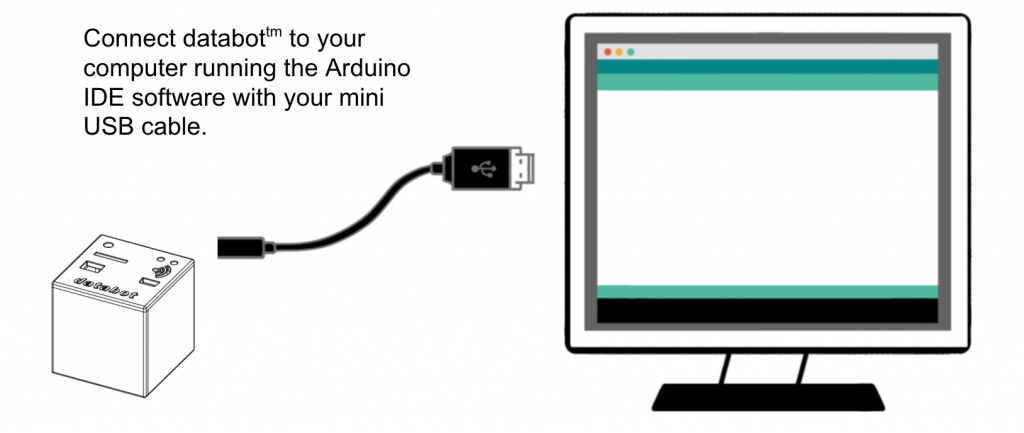
You have successfully completed your software installation and are now ready to begin explorations with databot™ and the Arduino software! Explore the other example sketches and get comfortable with loading and transferring sketches to your databot™. Once you are comfortable, jump into the activities and start exploring. Have fun!