Want to see physics live? Strap your databot to your homemade bottle rocket and record its altitude and acceleration as it soars. You’ll get data, experiments, and thrills in one launch. In this blog, I will share my journey of building a rocket from scratch, detailing the challenges I encountered, and offering essential tips for you to undertake this engaging project at home.
Outline:
Section 1: Idea and Preparation Section 2: Implementation and Process Section 3: Measurement and Analysis Section 4: Results and Conclusions
Imagine the scene: rockets soaring into the blue, powered by simple materials and a bit of ingenuity. This is more than just fun; it’s a hands-on lesson in physics and engineering, ideal for any aspiring rocketeer.
Idea and Preparation: what you need to make your homemade rocket
Among various rocket designs, I opted for the simplest: a regular plastic bottle. The propulsion would come from a straightforward mix of air pressure and water. The plan is simple: fill the bottle with water, pump in air pressure, open the valve, and watch as the water jets out, propelling the rocket upward.
The real challenge was building a reliable launcher. For this, I assembled:
A bicycle tire valve
PVC pipe
Irrigation connectors
Plastic bottle
Compressor
Implementation and Process
I used the PVC pipe as the backbone of my launcher, installing the bicycle tire valve to introduce air pressure. After drilling a hole in a plug and fitting the valve, I connected it to the pipe using a pipe soldering iron. You can view all these steps in detail in this video.
You can find hose couplers like this for lawn hoses in most hardware stores. One of the connectors I screw to the bottle, the second connector I screw to the launcher. In order to connect them I heat them and when they melt a little I connect them to make an airtight seal! It should go like this.
We end up with a device like this as shown. The pipe on one side is a bicycle nipple through which we will pump up the air pressure. On one side is the connection where we connect the bottle to the launching pad. The bottle is well connected to the launch pad and can be easily disconnected from it. You can see all of this in this next video. Check it out!
Now, it is time for a test flight! Follow these instructions:
Fill the bottle with water.
Pressurize using an air compressor to about 2-3 atmospheres (30-45 psi)
Launch and observe.
Measurement and Analysis
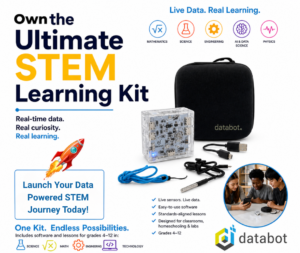
The launch was successful! The rocket soared into the sky, and now it was crucial to measure its speed and altitude. For this, I used my databot, a compact multi-sensor device equipped with 16 sensors capable of measuring everything from altitude to acceleration, all while transmitting the data directly to my smartphone in real-time.
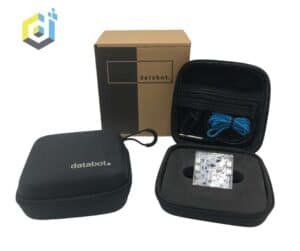
I secured databot atop the rocket, cushioned by a soft wrap for protection against impact and insulated against any wet weather conditions. After several trials, I gathered data showing impressive results, with a peak flight altitude of 25 meters and acceleration reaching 80 m/s².
Flight altitude 25 meters
Acceleration 80 m/s2
Working with Databot Using Vizeey
For working with Databot, we use the Vizeey software. It allows you to easily connect to the device and read all necessary sensor data in real time. The program features an intuitive interface, making it convenient for both educational use and hands-on experiments.
You can learn more about the software on the official website: vizeey.com
Use the Vizeey app to scan this QR code and start your experiment.
Results and Conclusions
This experiment proved to be a success. The rocket not only flew but provided substantial data to study the underlying physics. I highly recommend using the databot for such experiments to get accurate measurements.
For those interested in hands-on STEM activities, especially homeschooling families or model rocketry enthusiasts, this project demonstrates that with a bit of curiosity and some basic materials, you can achieve great results. Feel free to reach out with questions or share your rocket designs with our community!
This journey has been incredibly rewarding, merging practical engineering with the joy of watching a rocket ascend. Who knows? Your homemade rocket could be the next to take flight!
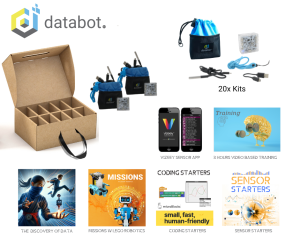
Learn about databot here Click on any product configuration for details!