Databot Expansion Cable
Introduction
Databot becomes even more powerful when it can connect to external sensors and other devices. A simple expansion cable makes this possible, opening the door to new experiments, interactions, and creative technical projects. This cable allows children to explore how different sensors work and how devices communicate with each other in real situations. The best part is that it can be made using a standard micro USB cable, turning an everyday object into a practical tool for learning, experimentation, and hands on discovery.
Expansion Ports
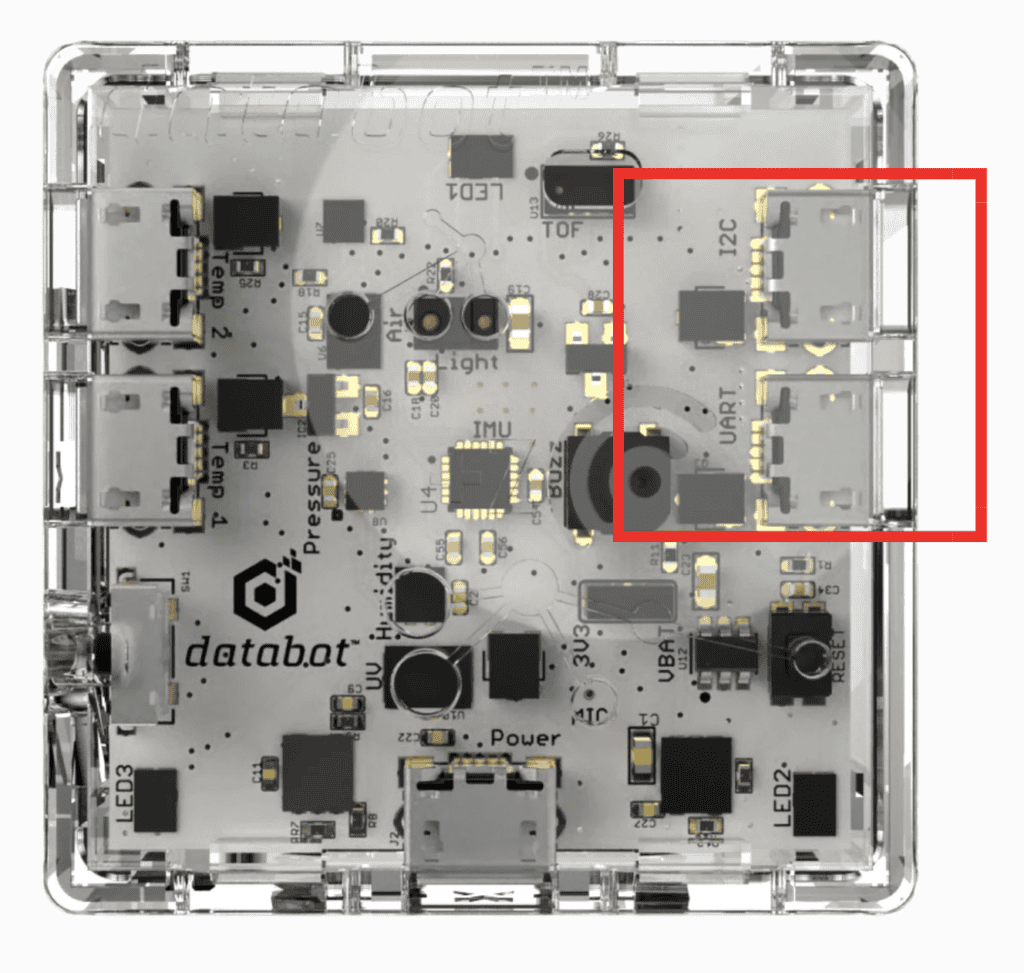
The Databot enclosure includes two dedicated micro USB ports designed for connecting additional sensors and for data exchange with other devices. These ports are not used for power or charging. They are communication interfaces that allow Databot to interact with the outside world in a flexible and meaningful way.
One of the ports works with UART, a simple and widely used serial communication method. The second port is based on I2C, a protocol designed for connecting multiple sensors and modules using shared lines. Together, these two interfaces make it possible to read data from external sensors, send information to other boards, and build more complex interactive setups.
This is exactly why we are creating a custom cable. The cable gives direct access to these two ports and turns them into practical connection points for experiments and projects. For children, this is an important step from using ready made devices towards understanding how electronics communicate, how signals travel, and how ideas become real working systems.
Types of Micro USB Cables
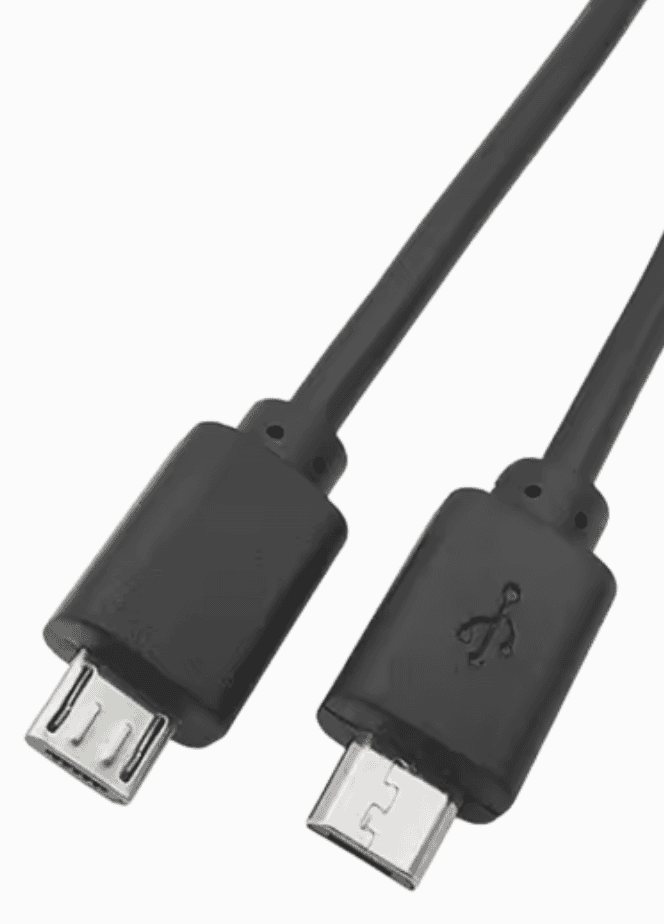
Micro USB cables may look similar on the outside, yet inside they can be very different. Many cables from different manufacturers are designed for different purposes, and this difference becomes important when working with electronics and sensors.
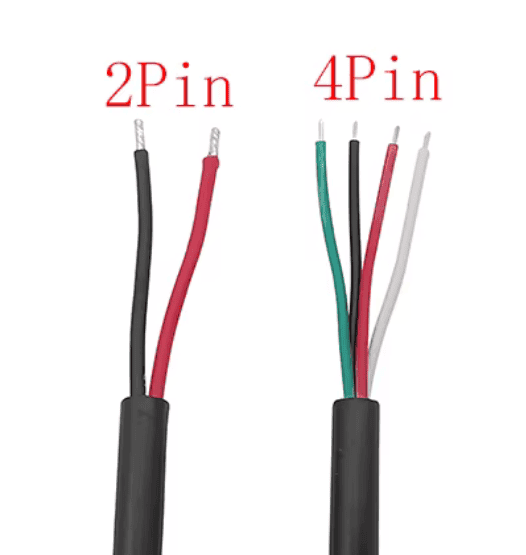
Some micro USB cables are made only to deliver power. Inside these cables there are just two wires, usually red and black. They are enough for charging devices, yet they cannot transmit any data or signals. Such cables are common and often included with simple chargers.
Other micro USB cables contain four wires. Two of them are used for power, and the other two are used for data transmission. These cables allow devices to exchange information, communicate with sensors, and work with protocols such as UART and I2C.
For our project we need exactly this type of cable.
Preparing the Cable
To create the expansion cable, we start by taking a micro USB cable and carefully cutting it. Once the cable is open, the first thing to check is how many wires are inside. If the cable contains only two wires, it is suitable for power only and cannot be used for this project. If the cable contains four wires, it is the right one and can be used to connect sensors and exchange data.
The next step is to understand which wires are used for power and which ones carry signals. In most cases, the red and black wires are used for power. The remaining two wires are used for data and communication. This colour scheme is common, but it is always good practice to verify it.
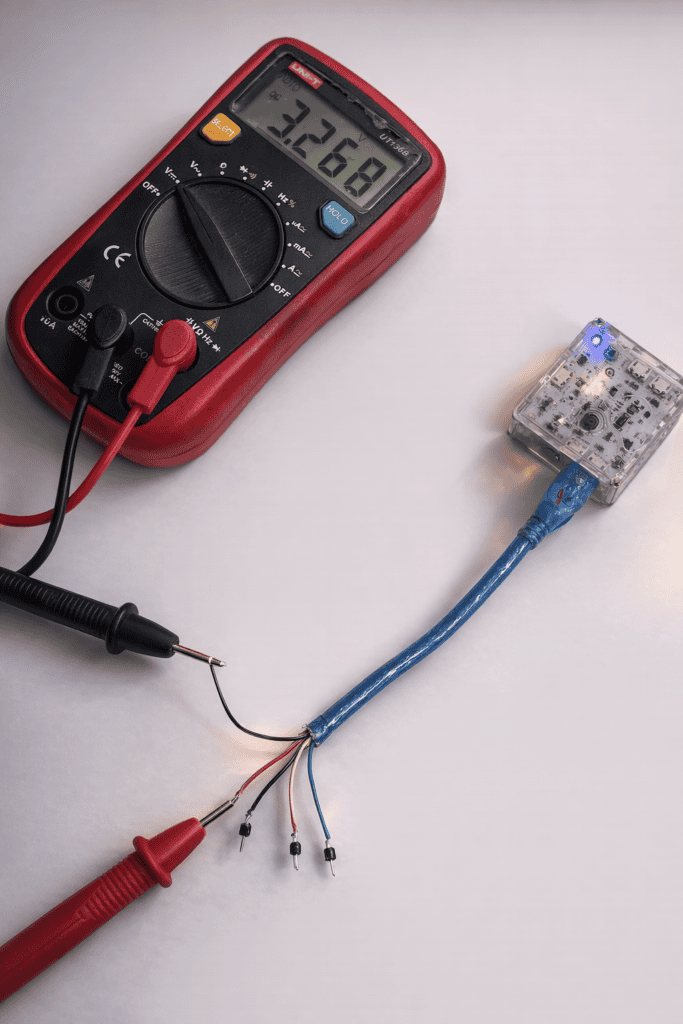
To be sure, the cut end of the cable can be connected to the Databot port. Using a multimeter, it is possible to measure the voltage on each wire. The wires that show voltage are power lines, while the others are used for data. This simple check helps avoid mistakes and gives children a clear and practical understanding of how power and information travel through a cable.
Now the cable pinout is clear and the main work is done. At this stage the cable is practically ready to use. Each wire has a known role, so it can be safely connected to external components.
The exposed wires can be crimped with Dupont connectors or other suitable connectors, depending on the setup. Another option is to solder the wires directly to a sensor or to another microcontroller. Both approaches work well and allow Databot to exchange data with external devices using UART or I2C.
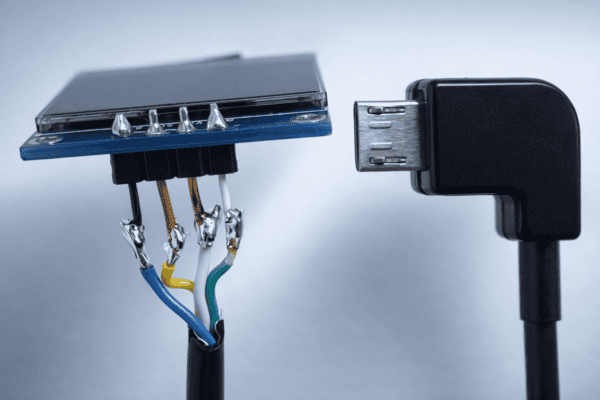
Display Connection Example
As a practical example, I want to show a cable I created to connect a display to Databot. In this case, no special connectors were used. The wires were soldered directly to the display pins, creating a simple and reliable connection.
Ready Made Solutions
If you would rather keep things simple and avoid working with cables yourself, you can visit our shop and order ready made cables instead. You are also very welcome to contact us if you have questions or need advice. We will be happy to help you choose the right solution and wish you inspiring experiments and enjoyable discoveries with Databot.