We continue to connect databot to IOT services. Today we will connect to the well-known Thingspeak platform. This service allows you to collect information from a databot and publish it to the Thingspeak cloud service. From there it can be seen from anywhere on Earth if you have an Internet connection. IOT projects like this can be very useful for monitoring all kinds of things including environmental conditions, especially if you have the suite of environmental sensors built in to databot.
How Does It work?
databot sensors collect information and connect to the Thingspeak site via wi-fi and send the data to the Thingspeak server in the cloud. The data from databot is displayed on the Thingspeak platform in graphs as shown below.
Data in the system can be displayed in real time and can be set to private or public access. Users have the ability to share information with others through this method. You can display up to eight graphs on the screen simultaneously and remote users can easily download the data sets for closer analysis.
Thingspeak provides a great free option for individual use, the project shown here is using the free version. It has some limitations with respect to the amount of data you can share and how quickly things can update. However, for advanced features a paid version with additional capabilities is available.
In the free version, the number of queries is limited to eight thousand per day, with a mandatory interval of 15 seconds between queries. This is more than sufficient for our demonstration environmental monitoring project.
Getting Started
The materials for this project are simple, all you will need is a computer with the Arduino IDE for coding databot, an Internet connected browser, a databot, and of course you will set up a free account with Thingspeak.
1. Go to https://thingspeak.com/ This is the service that allows you to turn your databot into an IoT device. 2. In the upper right corner select the icon with the image of a person. 3. In the opened window select “No account? Create one!” 4. You just need to fill in your data and click the “Continue” button. 5. A confirmation e-mail will be sent to your e-mail. Check it and confirm.
That’s it, you are set up and ready to begin.
After registration create your own channel where data from databot will be published.
In the main menu: select:
Channels
MyChannels
New Channels
Now you can fill in your channel information.
Channel Name: Enter a unique name for the ThingSpeak channel.
Description: Enter a description of the ThingSpeak channel.
Field#: Check the box to enable the field, and enter a field name. Each ThingSpeak channel can have up to 8 fields.
Metadata: Enter information about channel data, including JSON, XML, or CSV data.
Tags: Enter keywords that identify the channel. Separate tags with commas.
Link to External Site: If you have a website that contains information about your ThingSpeak channel, specify the URL.
Show Channel Location:
Latitude: Specify the latitude position in decimal degrees. For example, the latitude of the city of London is 51.5072.
Longitude: Specify the longitude position in decimal degrees. For example, the longitude of the city of London is -0.1275.
Elevation: Specify the elevation position meters. For example, the elevation of the city of London is 35.052.
Video URL: If you have a YouTube™ or Vimeo® video that displays your channel information, specify the full path of the video URL.
Link to GitHub: If you store your ThingSpeak code on GitHub®, specify the GitHub repository URL.
Don’t forget to click “Save Channel” at the bottom to create it.
Now the new channel will be visible in the list of channels. In this example we will create a project where we will check the local environment for six sensor values shown to the right and display them on a Thingspeak dashboard in the cloud. This will enable us to see the data from anywhere on Earth that has an Internet connection!
CO2
VOC
Ambient Light
Humidity
Temperature
Air Pressure
Before we move on to writing the databot program, we need to take the API Key data from the Thingspeak website. It is this key that will tell Thingspeak that we are transmitting data to our channel. To find the key we need to select: our channel, go to the API Key tab and copy the key.
Arduino IDE Library Installation
This instruction set is for users familiar with the Arduino IDE. To send sensor readings to ThingSpeak, we’ll use the thingspeak-arduino library. You can install this library through the Arduino Library Manager. Go to Sketch –Include Library – Manage Libraries… and search for “ThingSpeak” in the Library Manager. Install the ThingSpeak library by MathWorks.
We did all the work for you and prepared the code. You will need to make a few changes in the code:
In line 26 of the code enter the name of your wifi network
In line 27 of the code enter the password of your wifi network.
Once the code is uploaded, the data will start streaming to your feed. Now you can go back to https://thingspeak.com/ and customize the graphs to display the information by clicking on the “pencil” icon
This way you will be able to customize each of the fields. In our example we will use the free version and the data of each sensor will be updated every 90 seconds.
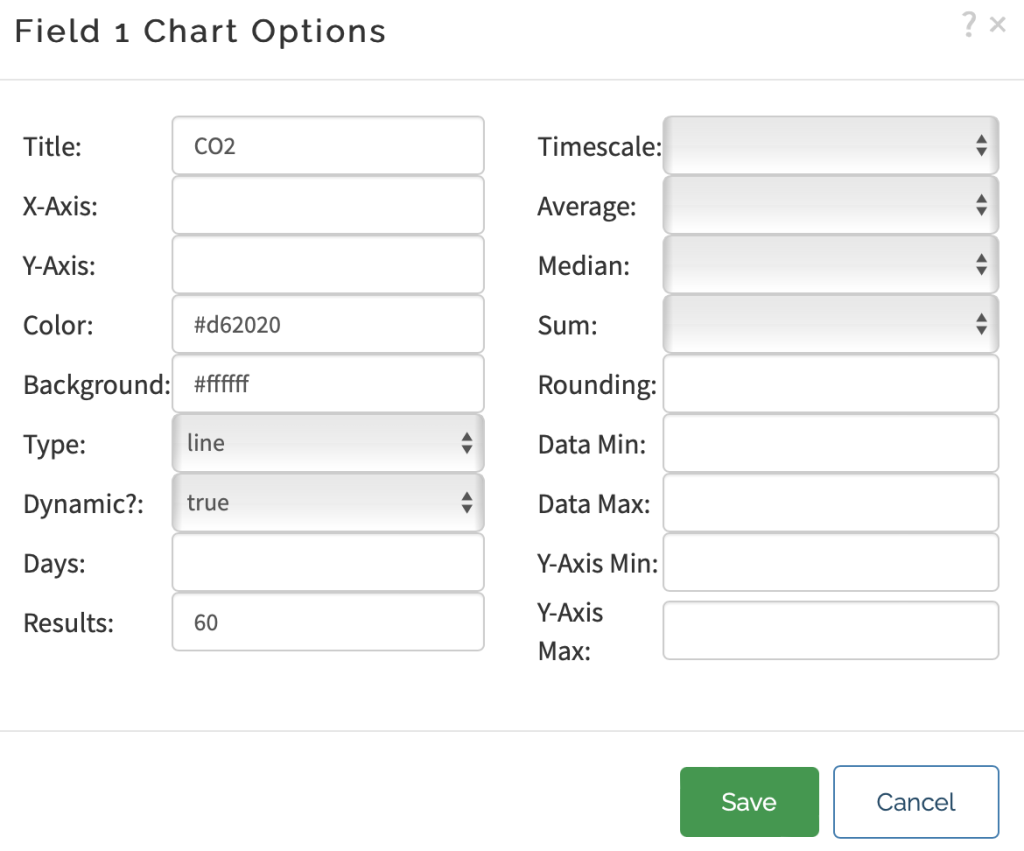
Graph 1 will display the data CO2
Graph 2 will display the data VOC
Graph 3 will display the data Ambient Light
Graph 4 will display the data Humidity
Graph 5 will display the data Temperature
Graph 6 will display the data Pressure
To display the temperature – remember to connect the temperature probe to the databot. This is how the data will be displayed.
Wrapping it Up
Congratulations on building your first Thingspeak-databot IOT solution! The Internet of Things is an extraordinary global opportunity for careers in the field of IT. There are many IOT platforms in addition to Thingspeak, take a look at our other blogs to learn about more of them and more applications!