Introduction
I think everyone knows what a Raspberry Pi is. It is a small and affordable computer that is widely used for programming, creating electronic projects and educational purposes. It has basic computing capabilities and supports various operating systems, making it popular among hobbyists and students. The Raspberry Pi has no sensors – but we will fix that today by using databot.
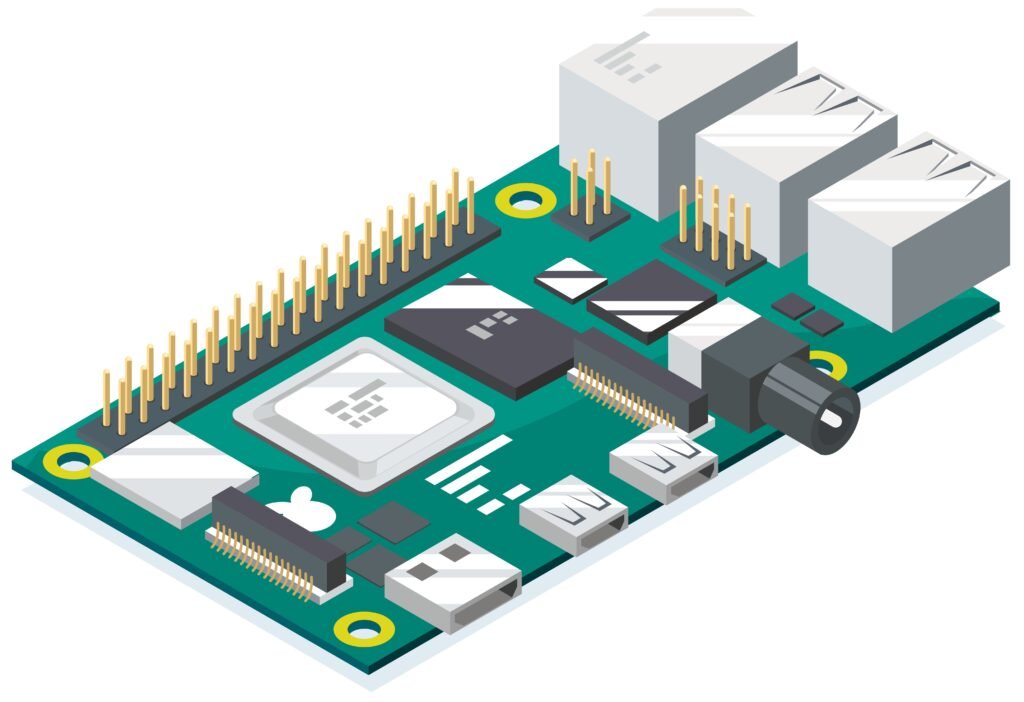
What's our goal?
Our goal is to expand the capabilities of the Raspberry Pi and open up even more possibilities for scientific exploration, experiments, and projects that were previously out of reach. With the integration of Databot and a simple USB connection, you instantly gain access to 16 powerful sensors, enabling a wide range of innovative projects. We’ve already conducted experiments and prepared ready-to-use code that makes connecting these two devices effortless. Let’s get started and unlock a new level of creativity and discovery!
Effortless Integration
To enable Raspberry Pi and Databot to work together, all you need are these two devices and a USB to micro-USB cable. This cable comes included with the Databot, so there’s nothing extra to purchase. If you don’t yet have a Databot, you can visit our store to get one for testing or buy a classroom set.
There are several ways to connect and transfer data between these devices, but in this example, we’ll use the simplest method. We’ll be transmitting data via the serial port. As a demonstration, I’ll show how to send CO2 sensor data from Databot directly to Raspberry Pi using the serial port. This approach makes data transfer quick and easy, bringing science experiments to life with just a few steps.
Databot setup
Databot offers several operating modes. It can function as a portable sensor, transmitting real-time data directly to your phone or tablet using the “Vizeey” app. But don’t forget that databot is also a microcontroller, which means it can be programmed just like any other microcontroller. To program it, you can use the popular Arduino IDE. If you’re new to this, we have a comprehensive guide on how to connect databot to the Arduino IDE and start coding. You can check it out here: Arduino IDE Setup Guide. The guide provides step-by-step instructions and sample programs. For this lesson, all you need to do is upload our standard “databot_CO2” program, and your Databot will be ready to go!
In all standard programs databot sends data to serial port. That’s exactly what we need
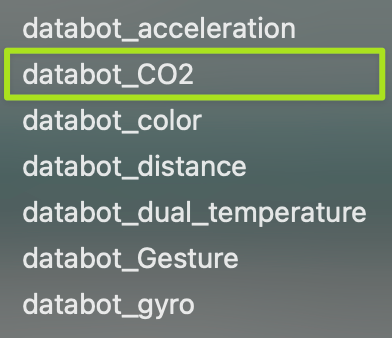
Don’t forget to turn on databot
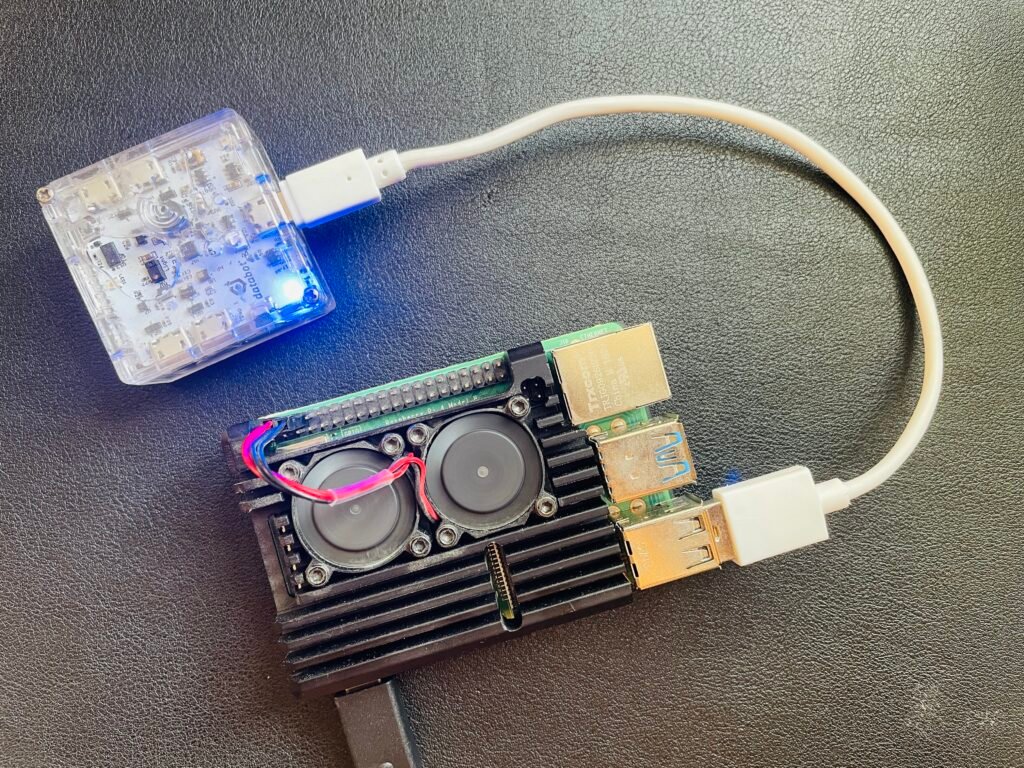
Now, take a USB to micro-USB cable and connect databot to the Raspberry Pi. Plug the micro-USB end into the power connector on databot, and the USB end into any available port on the Raspberry Pi. With this simple connection, you’re ready to start transferring data between the two devices!
Raspberry Pi setup
If you’ve worked with the Raspberry Pi even a little, you’re likely familiar with installing an operating system on it, and you probably know how to access your Raspberry Pi using VNC. We won’t be covering that here, as it’s one of the first things people learn when getting started with Raspberry Pi. Instead, we’ll assume you already have Raspberry Pi OS installed and you can access your desktop.
First, we need to identify which port the Databot is connected to, as this is essential for reading data from the device.
To determine the port, follow these steps:
- Open the terminal.
- In the terminal, enter the command
ls/dev/tty*This command lists all available devices connected to your system. - At the end of the list, you should see something like
dev/ttyUSB0, which is the port where your Databot is connected via USB.
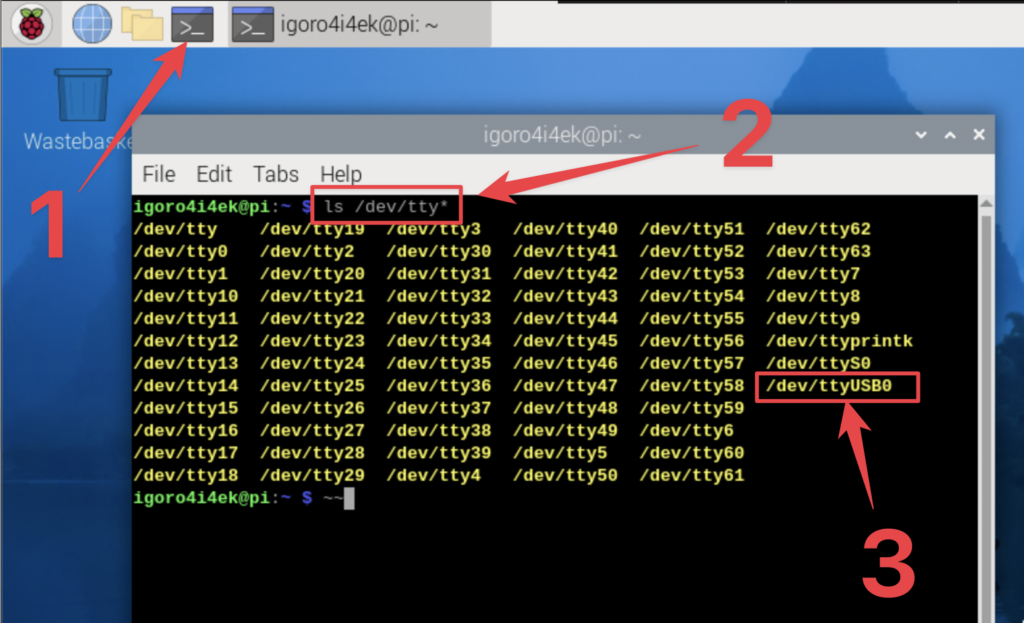
At this stage, we know that the Databot is connected to the Raspberry Pi and is sending CO2 sensor data to the serial port. We’ve already identified the correct serial port. Now, all that’s left is to read the data from this port.
To achieve this, we’ll use Python. For convenience, we’ll be coding in the default Raspberry Pi IDE, Thonny. Let’s get started by writing a simple script to capture and display the CO2 data from the Databot’s serial output!

Next, we need to write the following code in Thonny and press the Run button. This will read the data being sent by the Databot and display it in the console
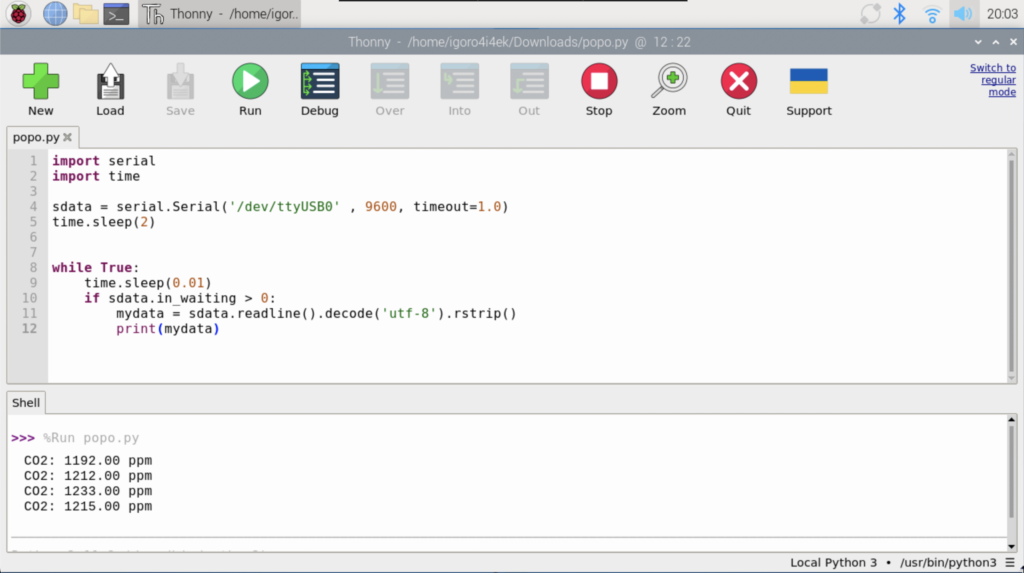
Сopy code
In line 4 of the code don’t forget to enter your data if you have a different series port. dev/ttyUSB0
					import serial
import time

sdata = serial.Serial('/dev/ttyUSB0' , 9600, timeout=1.0)
time.sleep(2)

while True:
    time.sleep(0.01)
    if sdata.in_waiting > 0:
        mydata = sdata.readline().decode('utf-8').rstrip()
        print(mydata)
Using this approach, you can transmit not only CO2 data from the Databot but also information from any of its 16 sensors. Whether it’s adding gyroscope capabilities to your Raspberry Pi, creating projects involving light intensity, temperature, or even the magnetometer, the possibilities are limitless.
With just a few lines of code, you can start monitoring sensor data in real-time. From there, you can build any project you dream of—whether it’s a smart robot or an intelligent home system. In one simple step, you’ve expanded your microcomputer’s capabilities by adding 16 sensors.
Now, you can create complex conditions and dependencies that were previously impossible to achieve, unlocking new levels of innovation and experimentation!
